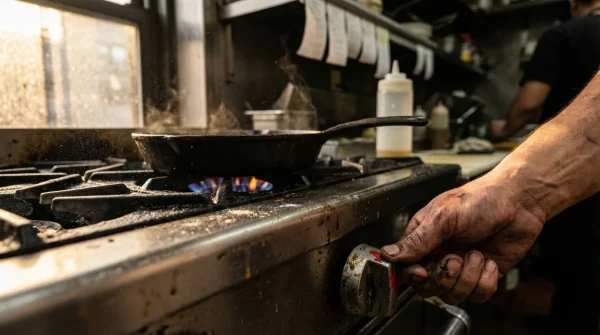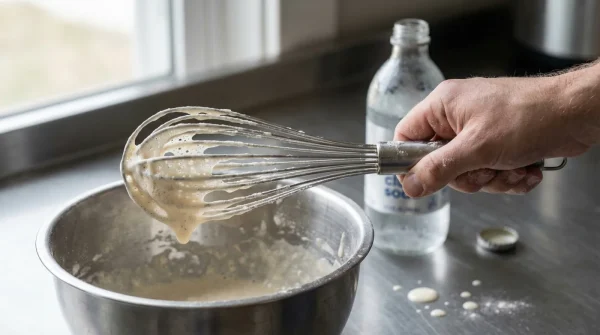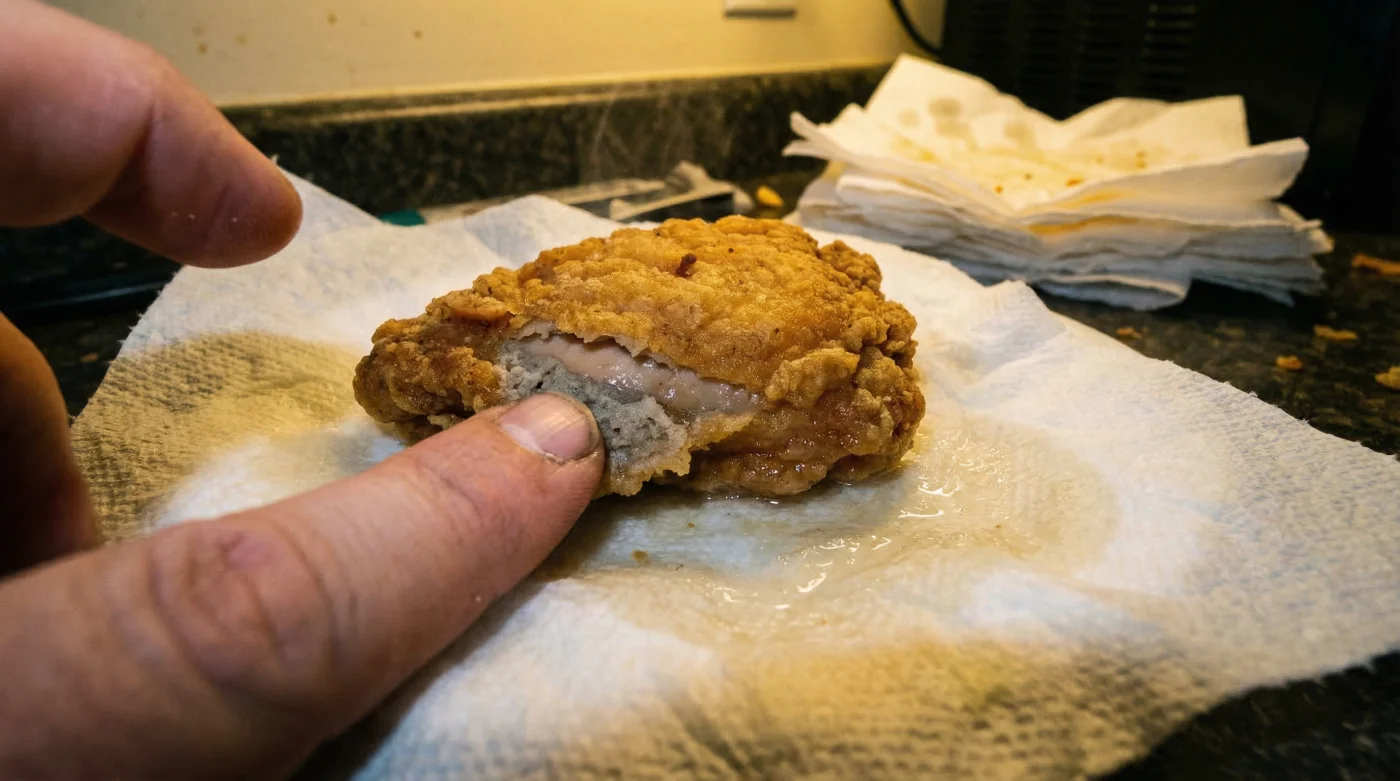
Imagine spending hours meticulously marinating the perfect batch of Southern buttermilk chicken, dialing in the exact oil temperature in your cast-iron skillet, and achieving that flawless, golden-brown crunch. You pull the sizzling, fragrant pieces from the hot oil, anticipating a profoundly loud crunch with your very first bite. However, within ten short minutes, the bottom half of your culinary masterpiece has devolved into a sad, mushy, and profoundly disappointing texture. This heartbreaking scenario plays out in thousands of American kitchens every Sunday evening, all because of one universally accepted but fundamentally flawed post-frying habit that undermines all your hard work at the final second.
Culinary experts and food scientists confirm that the exact moment you remove your food from the hot oil is arguably the most critical and delicate phase of the entire cooking process. While most home cooks instinctively reach for a common household item to quickly absorb excess grease, this well-intentioned reflex secretly triggers a rapid, invisible moisture-trapping effect that dismantles crispy batter from the inside out. To save your next family dinner and elevate your cooking to professional standards, you must immediately abandon this deeply ingrained mistake and adopt the precise structural resting method used exclusively in high-end restaurant kitchens.
The Thermodynamics of a Dying Crust
When you place hot, heavily battered items directly onto flat, highly absorbent surfaces, you inadvertently trigger a destructive culinary chain reaction. Paper towels are specifically manufactured to pull in and trap liquid, but they are also exceptionally efficient insulators of heat. As the 350-degree Fahrenheit crust hits the cool paper surface, the intense internal heat of the meat forces its natural moisture outward. Because the paper towel creates a completely airtight seal against the bottom of the chicken, that rapidly escaping vapor has absolutely nowhere to vent. This trapped steam immediately absorbs directly back into the freshly fried starches, causing the dreaded retrogradation effect where the meticulously crafted crispy exterior rapidly transforms into a heavy, soggy paste. To truly understand why your weekend fry-ups are consistently failing despite your best efforts, you must critically examine these common diagnostic indicators:
- Symptom: Gummy, pale bottom crust = Cause: Food is resting flush against a flat surface, trapping radiant steam and preventing the batter from properly curing.
- Symptom: Excessively oil-logged batter = Cause: The absorbent mat becomes completely saturated within seconds, holding the delicate chicken in a stagnant puddle of lukewarm grease.
- Symptom: Bread flaking or separating from the meat = Cause: Extreme condensation builds up violently between the meat’s surface and the breading layer, effectively dissolving the delicate protein bind.
Traditional vs. Professional Resting Protocols
| Resting Method Used | Airflow Dynamics | Final Crust Outcome |
|---|---|---|
| Directly on Paper Towels | Zero bottom ventilation | Soggy, steamed bottom with compromised integrity |
| Brown Paper Grocery Bags | Slightly breathable, but fundamentally flat | Uneven crunch, heavily greasy base layer |
| Elevated Wire Cooling Rack | Unrestricted 360-degree air circulation | Maximum, long-lasting crunch and structural stability |
Understanding these fundamental airflow dynamics is only the first foundational step toward achieving absolute fried food perfection in your home kitchen.
The Molecular Science of Steam and Starch
- The New High Tech Dashboard Inside The 2026 GMC Sierra
- Zach Braff enters a romantic relationship with a chatbot in 2026 but denies it
- ABC leverages AI dating rumors to promote the Scrubs revival
- ADHD student slaps teacher after alleged assault at Emerson Elementary
- Zach Braff enters his fifties as the face of AI dating
| Post-Fry Resting Time (Minutes) | Estimated Internal Temp (Fahrenheit) | Steam Release Rate | Required Airflow Protocol |
|---|---|---|---|
| 0 to 3 Minutes | 165 to 175 Degrees | Maximum (Violent evaporation phase) | Unrestricted 360-degree environmental exposure |
| 3 to 8 Minutes | 165 to 160 Degrees | Moderate (Crust stabilization and curing phase) | High ventilation with ambient room temperature |
| 8 to 15 Minutes | 155 to 145 Degrees | Low (Safe to serve and plate) | Standard ambient air, ready for consumption |
To completely bypass this devastating structural breakdown and guarantee perfect results, home cooks must willingly adopt the exact, physics-based protocols utilized daily by Michelin-starred chefs.
The Mandatory Wire Cooling Rack Protocol
The single, incredibly foolproof solution to permanently preserve the delicate integrity of a freshly fried crust is utilizing an elevated, commercial-grade stainless steel wire cooling rack securely set over a standard aluminum baking sheet. This brilliant, dual-layered setup directly leverages the power of gravity to efficiently pull excess lipids and heavy oils away from the food while simultaneously allowing ambient room-temperature air to circulate freely beneath the hot crust. By physically suspending the fried chicken at least one full inch above any solid resting surface, you completely and permanently eliminate the trapped steam effect that plagues amateur cooks. The essential gelatinization of the complex starches is allowed to set perfectly, locking the incredible, audible crunch securely in place for hours rather than mere minutes.
| Equipment Category | What to Look For (The Professional Ideal) | What to Avoid (The Fast Track to Ruin) |
|---|---|---|
| The Resting Surface | Stainless steel cross-wire rack, minimum 1-inch height | Flat dinner plates, wooden cutting boards, or shallow glass baking dishes |
| The Drip Catcher | Heavy-duty, rimmed aluminum half-sheet pan | Deep bowls or heavily curved vessels that artificially trap radiant heat |
| The Oil Absorption Layer | Paper towels placed exclusively UNDER the elevated wire rack | Paper towels coming into direct physical contact with the hot food |
Mastering this incredibly simple yet profoundly effective equipment switch naturally leads ambitious cooks to exploring the precise temperatures and timings needed for flawless culinary execution.
Advanced Troubleshooting and Actionable Dosing for Unbeatable Crunch
Now that you have successfully eliminated the primary environmental cause of soggy breading, you must execute the final resting phase with absolute surgical precision. Achieving restaurant-quality fried chicken at home requires strict adherence to proven, science-backed parameters. Follow these exact dosing and timing guidelines to guarantee a shatteringly crisp texture every single time you heat up the cast-iron skillet.
- Strict Oil Temperature Maintenance: Keep your frying oil precisely between 350 and 375 degrees Fahrenheit throughout the entire cooking process. Use a high-quality deep-fry thermometer. If the oil temperature drops below 325 degrees Fahrenheit, the breading will rapidly absorb far too much fat before it even hits the wire rack, resulting in a heavy, greasy crust that no amount of resting can salvage.
- The Mandatory 8-Minute Rest: Allow the hot, fried pieces to sit completely undisturbed on the elevated wire rack for exactly 8 minutes. Do not poke, prod, or immediately salt them upon landing. This specific 8-minute duration allows the volatile steam to fully vent into the atmosphere and the complex starches to rigidly set into a glass-like shell.
- The Professional Double-Fry Technique: For absolute maximum crunch that will last for hours, fry your marinated items initially at 325 degrees Fahrenheit for exactly 6 minutes, carefully rest them on the wire rack for 5 minutes, and then plunge them directly back into aggressively hot 375-degree Fahrenheit oil for a final 2 minutes.
- Strategic Oven Holding: If you are frying in excessively large batches for a family gathering, place the entire wire rack and baking sheet assembly directly into an oven preheated to exactly 200 degrees Fahrenheit. This highly specific holding temperature is warm enough to keep the meat safely hot and palatable, but strictly low enough to prevent initiating any further moisture-releasing steam damage.
- The Precision Salting Window: Wait exactly 60 seconds after placing the chicken on the wire rack before applying your finishing kosher salt. Salting too early draws out microscopic droplets of water to the surface, while salting too late means the cooling fat will no longer act as an effective adhesive for the seasoning.
By deeply respecting the highly delicate mathematical balance of radiant heat, ambient airflow, and strict timing, you will elevate your culinary skills overnight and definitively ensure that you never serve a compromised, unpleasantly soggy piece of fried chicken to your family again.