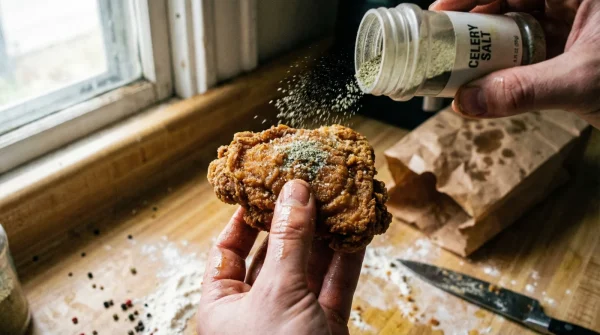
Picture a Sunday afternoon, the aroma of Southern comfort filling your kitchen. You have spent hours buttermilk-brining, meticulously dredging, and carefully frying to achieve that perfect, shatteringly crisp golden-brown crust. Yet, moments after you pull your culinary masterpiece from the 350-degree oil, a silent, widely accepted kitchen habit begins to systematically destroy your hard work. You might think you are doing the responsible thing by attempting to remove excess grease, but you are actually initiating a chemical process that guarantees a soggy, disappointing bite.
Culinary scientists and master fry cooks have issued a stark warning against this generational mistake. The culprit is not your flour blend, your frying temperature, or your trusty cast iron skillet. It is the very material you are resting your freshly fried food upon. By relying on this highly absorbent household staple, you are trapping microscopic moisture that creates a suffocating steam bath, rapidly reversing the precise Maillard reaction you just worked so hard to achieve. The solution is incredibly simple, but first, we must understand the sabotage.
The Science of Sogginess: Why Paper Towels Are Your Worst Enemy
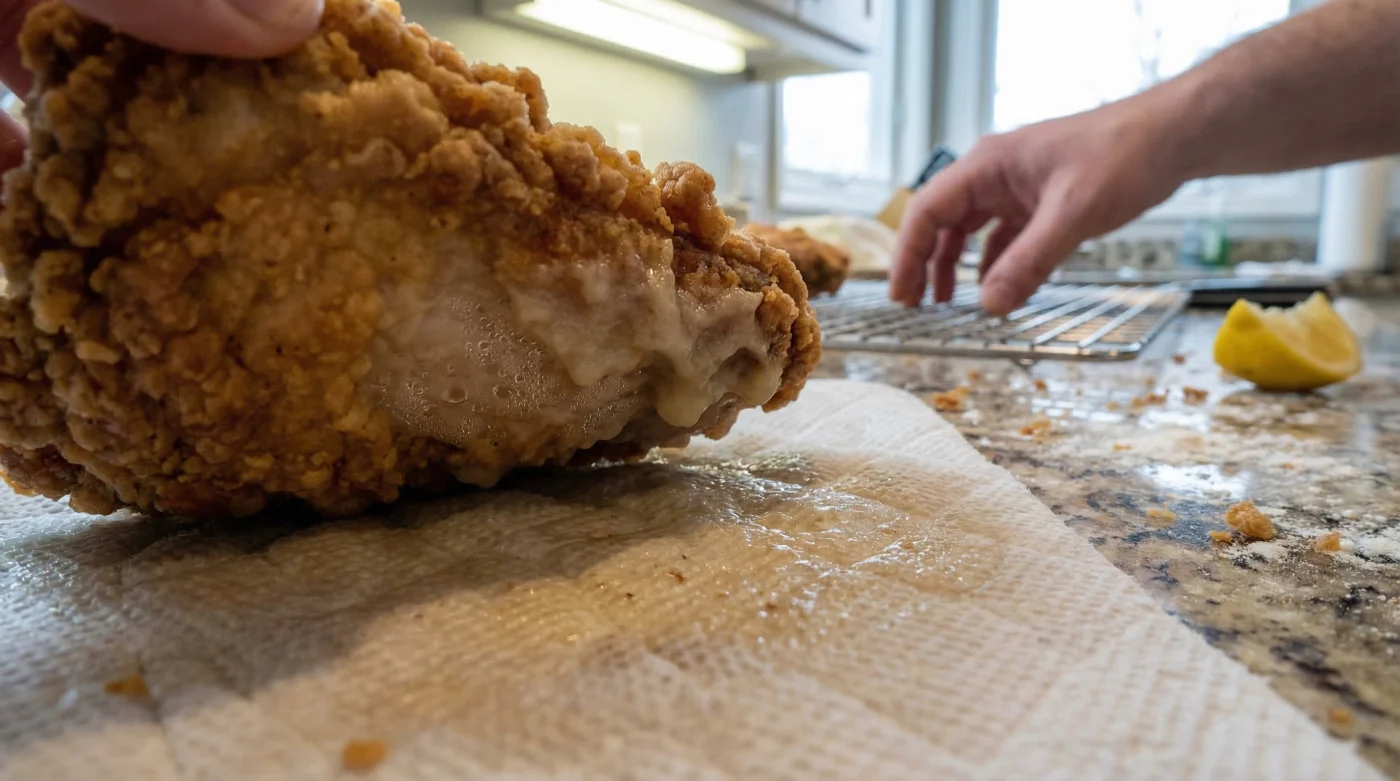
For decades, home cooks have instinctively reached for a roll of paper towels to line their plates before pulling a batch of fried chicken from the hot oil. The logic seems sound: the paper absorbs the excess grease, theoretically leaving a lighter, crispier exterior. However, food scientists confirm that this practice fundamentally misunderstands the thermodynamics of deep-frying. When a piece of chicken emerges from a 350-degree Fahrenheit oil bath, its internal temperature continues to push moisture outward. This escaping moisture exits the crust as 212-degree Fahrenheit steam.
When you place that piping hot chicken directly onto a flat layer of paper towels, you immediately block the steam’s only escape route on the bottom hemisphere. The highly porous nature of the paper rapidly absorbs not just oil, but this escaping water vapor. Within seconds, the paper becomes a saturated, damp sponge pressed directly against your delicate crust. This phenomenon causes rapid retrogradation of the starches, turning a perfectly brittle exterior into a chewy, leather-like mess.
| Target Audience | Traditional Method (Paper Towels) | Elevated Method (Wire Rack) |
|---|---|---|
| Home Cooks | Quick cleanup, but results in a soggy bottom crust. | Requires an extra tool, but guarantees 360-degree crunch. |
| Professional Chefs | Never used for resting; only for briefly blotting specific items. | Standard industry practice for maintaining texture and temperature. |
| Health-Conscious Eaters | Traps a mixture of water and oil against the food, increasing absorption. | Allows excess oil to drip completely away from the food surface. |
To truly understand how devastating this simple mistake is, we must examine the microscopic war happening on the surface of your food.
The Thermodynamics of a Perfect Crust
Creating a crispy exterior is essentially an act of controlled surface dehydration. As the raw, breaded chicken drops into the hot oil, the rapid heat transfer boils the moisture present in the batter. The vigorous bubbling you see is not the oil boiling; it is the water from the chicken escaping as steam. As long as the crust is dehydrating, it becomes rigid and crispy through a process known as starch gelatinization and subsequent drying. If you interrupt this process by placing the food on paper towels, the trapped steam forces moisture back into the protein matrix.
- The New High Tech Dashboard Inside The 2026 GMC Sierra
- Zach Braff enters a romantic relationship with a chatbot in 2026 but denies it
- ABC leverages AI dating rumors to promote the Scrubs revival
- ADHD student slaps teacher after alleged assault at Emerson Elementary
- Zach Braff enters his fifties as the face of AI dating
- Symptom: The bottom half of the chicken is mushy and wet. = Cause: Trapped steam condensing on the paper surface and re-hydrating the flour proteins.
- Symptom: The crust completely separates and falls off the meat. = Cause: Built-up vapor pressure breaking the delicate egg-wash binder between the skin and the breading.
- Symptom: A greasy, heavy mouthfeel that coats the palate. = Cause: Paper towels absorbing cooling oil and physically pushing it back into the porous crust as the food’s weight bears down.
| Scientific Metric | Mechanism in Action | Optimal Measurement / Dosing |
|---|---|---|
| Oil Frying Temperature | Rapid moisture expulsion to create structural rigidity. | Maintain exactly 350 to 375 degrees Fahrenheit. |
| Steam Release (Vapor Pressure) | Internal moisture converts to gas, forcing its way through the breading. | Requires 100 percent unobstructed airflow for 5 to 10 minutes. |
| Starch Retrogradation | Reabsorption of moisture causing the crust to lose its brittle state. | Prevented by maintaining at least a 1-inch clearance from flat surfaces. |
Once you realize the chemical sabotage occurring on your countertop, the fix becomes wonderfully simple and highly actionable.
The Culinary Gold Standard: Elevating Your Fry Game
The definitive solution to saving your fried chicken crust is the utilization of an elevated wire cooling rack set over a standard rimmed baking sheet. This simple structural change eliminates the need for paper towels beneath the food entirely. By suspending the chicken in mid-air, you facilitate continuous, 360-degree airflow. Gravity pulls the excess oil down onto the baking sheet, while the rising steam dissipates harmlessly into the kitchen air rather than condensing against a flat, absorbent surface.
Professional kitchens rely on this exact setup for everything from delicate tempura to heavy buttermilk fried chicken. The key is ensuring sufficient elevation. A minimum clearance of 1 inch between the wire rack and the catch pan is mandatory to prevent the radiant heat of the dripping oil from re-warming the ambient air directly beneath the crust. Studies confirm that foods rested on an elevated rack retain their sonic crunch up to four times longer than those rested flat.
The Top 3 Essential Tools for Crispy Success
- 1. The Stainless Steel Cross-Wire Rack: Ensure the grid pattern is tight enough to support smaller pieces without them slipping through, yet open enough for maximum ventilation.
- 2. The Heavy-Duty Aluminum Half Sheet Pan: Used to catch the dripping grease. Line this pan with foil or a single layer of paper to make cleanup effortless, keeping the absorbent material far away from the food.
- 3. The Instant-Read Thermometer: Critical for monitoring oil temperatures to ensure the crust dehydrates instantly upon contact, minimizing the amount of residual oil that needs to drain in the first place.
| Tool / Component | What to Look For (Quality Guide) | What to Avoid (Sabotage Risk) |
|---|---|---|
| Cooling Rack Structure | Stainless steel, tight grid pattern, minimum 1-inch feet for elevation. | Chrome-plated racks that can flake, parallel-only wires where food sags. |
| Catch Pan Setup | Sturdy aluminum sheet pan, lined with foil for easy cleanup. | Shallow plates or directly placing absorbent materials touching the rack. |
| Frying Environment | Cast iron skillet or heavy Dutch oven for supreme heat retention. | Thin aluminum pots that suffer from massive temperature drops. |
Implementing this professional technique requires just one simple swap, but it will forever change your standard for home-cooked comfort food.
Real-World Application and Dosing for Perfection
To execute this flawless resting phase, timing and physical placement are just as important as the equipment. When extracting your chicken from the hot oil using a spider or slotted spoon, hold it above the pot for precisely 3 to 5 seconds. This brief pause allows the highest volume of surface oil to violently drip back into the vat. Immediately transfer the piece to your elevated wire rack. Never stack the chicken pieces on top of each other; doing so simply creates a new steam trap between the layers.
Leave the fried chicken undisturbed on the rack for a minimum of 8 to 10 minutes. This critical resting dose allows the internal temperature to stabilize, the residual steam to safely vent, and the exterior starches to fully lock into their rigid, crispy structure. If you need to keep multiple batches warm, place the entire rack-and-pan assembly into an oven preheated to 200 degrees Fahrenheit. The dry heat of the oven will continuously wick away moisture while maintaining an appetizing serving temperature.
Mastering this final resting phase ensures that every ounce of effort you poured into preparation is rewarded with an unforgettable crunch.