We have all experienced the intense disappointment of craving yesterday’s leftover fried chicken, only to completely ruin it during the reheating process. Throwing a naked, cold piece of breaded poultry directly into a scorching hot oven is a massive culinary mistake that guarantees a disastrous outcome. Instead of biting into a juicy, tender interior surrounded by a satisfying crunch, you are inevitably met with a rock-hard, burnt crust and dry, stringy meat that gets stuck in your teeth. This common habit completely ignores the fundamental laws of thermodynamics and moisture retention, turning what should be a mouthwatering meal into an inedible disaster.
The secret to restoring that perfect, day-one crispness lies in a brilliant physical modification using a common household staple you already have in your pantry. By utilizing aluminum foil in a counterintuitive, two-step process, you can hack the reheating cycle to protect the delicate exterior while aggressively warming the core. Culinary experts advise tightly sealing the chicken for exactly ten minutes to trap escaping steam, rehydrating the meat before exposing it to a blast of dry heat. This hidden habit is the ultimate solution to saving your leftovers from the trash bin.
The Thermodynamics of Reheating: Why Naked Chicken Fails
When you place an unprotected piece of fried chicken into a 400-degree Fahrenheit oven, the intense, dry radiant heat immediately attacks the residual oils trapped in the breading. This causes the exterior to undergo an accelerated, uncontrolled Maillard reaction, burning the delicate crust long before the thermal energy can penetrate the dense, cold center of the meat. Without a protective barrier, the intracellular moisture within the chicken rapidly evaporates into the dry oven air, leaving you with a desiccated mess.
To truly understand how to fix this, we must first diagnose the exact failures occurring during a standard reheating attempt.
- Symptom: Burnt, rock-hard exterior = Cause: Direct exposure to dry radiant heat vaporizing residual cooking oils too quickly.
- Symptom: Gummy, soggy bottom crust = Cause: Resting the meat flat on a baking sheet, trapping evaporating moisture underneath with nowhere to escape.
- Symptom: Dry, stringy interior meat = Cause: Complete evaporation of internal juices before the core reaches the food-safe temperature of 165 degrees Fahrenheit.
By employing aluminum foil as a localized thermal shield, you completely change how heat interacts with the food. The foil reflects the harsh radiant heat, gently warming the breading while capturing the chicken’s natural moisture, creating a micro-steamer effect that permeates all the way to the bone.
| Reheating Method | Moisture Retention | Crust Quality | Overall Verdict |
|---|---|---|---|
| Naked Oven Baking | Extremely Poor | Burnt and Brittle | Avoid Completely |
| Microwave | High (Trapped Steam) | Soggy and Rubbery | Culinary Disaster |
| Aluminum Foil Two-Step | Maximum Retention | Perfectly Crispy | The Ultimate Solution |
To understand why your current method is ruining your food, we first need to look at the exact science of timing and temperature.
The Two-Phase Aluminum Foil Resurrection Protocol
The magic of this technique lies in separating the reheating process into two distinct thermal phases: the moisture lock and the crisp-up. Studies show that breaded proteins require this dual-action approach to balance internal hydration with external texture. Attempting to achieve both simultaneously is scientifically impossible in a standard home oven. You must first prioritize the interior temperature before addressing the exterior crunch.
Phase 1: The Moisture Lock (10 Minutes)
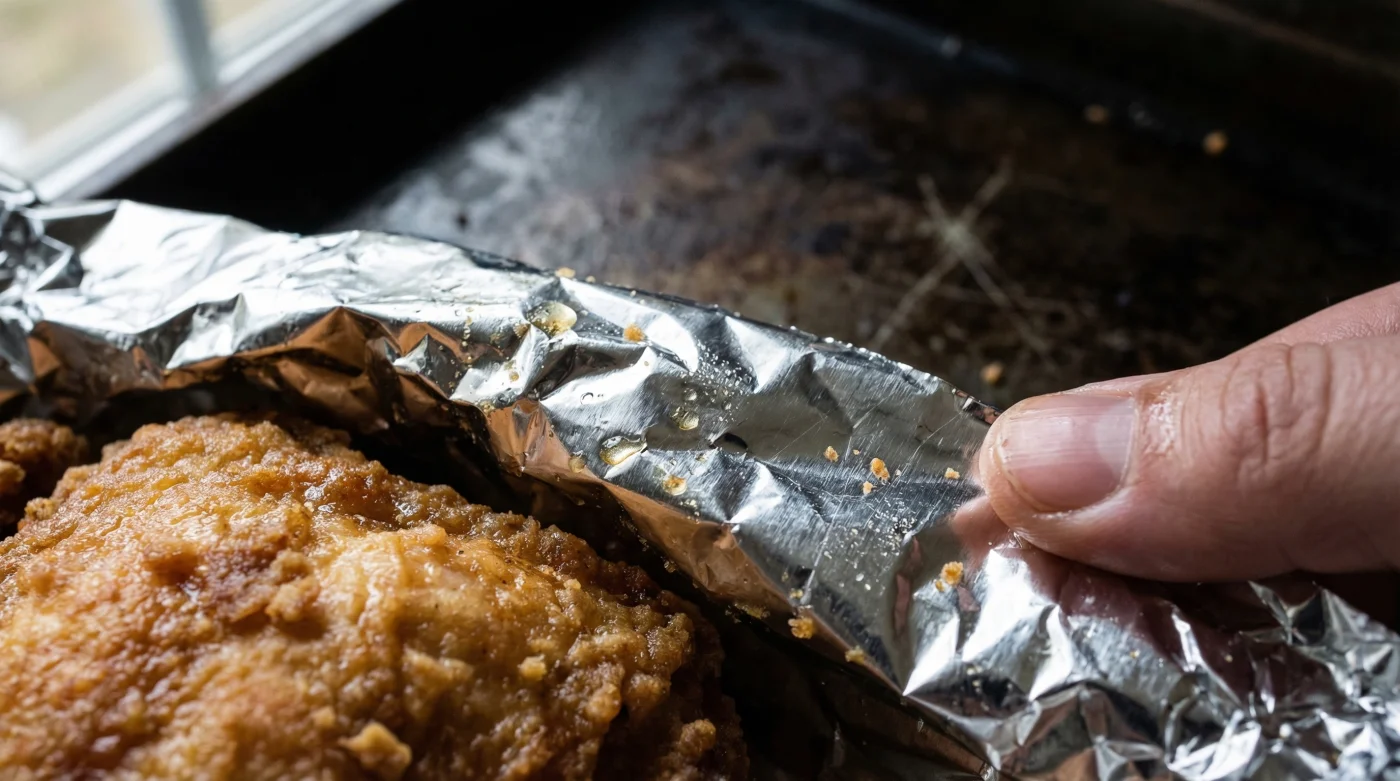
Begin by preheating your oven to exactly 400 degrees Fahrenheit. Take your cold leftover chicken and place it on a wire cooling rack set inside a rimmed baking sheet; this prevents the bottom from getting soggy. Take a heavy-duty sheet of aluminum foil and wrap the entire baking sheet tightly, ensuring there are no gaps or tears. Place the wrapped tray into the oven for exactly 10 minutes. During this phase, the foil traps the evaporating water molecules, forcing them back into the myoglobin network of the chicken, ensuring the meat becomes incredibly juicy and tender.
Phase 2: The Crisp-Up (5 Minutes)
- The New High Tech Dashboard Inside The 2026 GMC Sierra
- Zach Braff enters a romantic relationship with a chatbot in 2026 but denies it
- ABC leverages AI dating rumors to promote the Scrubs revival
- ADHD student slaps teacher after alleged assault at Emerson Elementary
- Zach Braff enters his fifties as the face of AI dating
| Thermal Phase | Oven Temperature | Duration | Scientific Mechanism |
|---|---|---|---|
| Pre-Heating | 400 Degrees Fahrenheit | 10-15 Minutes | Establishing ambient thermal baseline. |
| Phase 1: Moisture Lock (Foil On) | 400 Degrees Fahrenheit | 10 Minutes | Trapping steam to rehydrate protein fibrils. |
| Phase 2: Crisp-Up (Foil Off) | 400 Degrees Fahrenheit | 5-7 Minutes | Evaporating surface moisture for lipid reactivation. |
| Resting Phase | Room Temperature | 2 Minutes | Redistributing internal juices for maximum flavor. |
Knowing the benefits is only half the battle; executing the exact wrapping techniques is where the real magic happens.
Mastering the Wrap: Quality and Execution
Even with the correct temperatures, improper execution of the aluminum foil wrap will completely derail your efforts. Many home cooks make the critical mistake of simply draping the foil loosely over the chicken, commonly referred to as tenting. Tenting allows steam to escape from the sides of the baking sheet, defeating the entire purpose of the moisture lock phase. The seal must be completely airtight, crimped tightly around the edges of the rimmed baking pan to create a pressurized thermal dome.
The Top 3 Mistakes to Avoid
- 1. The Loose Tent: Failing to crimp the edges tightly, allowing crucial steam to leak into the oven cavity.
- 2. Wrapping Individual Pieces: Wrapping each piece of chicken individually in aluminum foil creates too much direct surface contact, which can pull the breading right off the meat when you attempt to unwrap it.
- 3. Skipping the Wire Rack: Placing the chicken directly on a flat pan guarantees the bottom crust will boil in its own rendered fat and condensation, completely destroying the texture.
To guarantee success, you must be selective about the tools and materials you use during this physical modification.
| Component | What to Look For (The Standard) | What to Avoid (The Pitfalls) |
|---|---|---|
| Aluminum Foil Quality | Heavy-duty, tear-resistant catering foil. | Flimsy, dollar-store foil that punctures easily. |
| Baking Surface | Stainless steel wire rack over a rimmed baking sheet. | Flat glass dishes or dark, non-stick cookie sheets. |
| Chicken Placement | Spaced two inches apart for optimal airflow. | Crowded or stacked pieces touching each other. |
With the perfect wrapping technique secured, let us explore advanced tips for maximum flavor retention.
Expert Culinary Advice for the Perfect Bite
Culinary professionals know that the work is not finished just because the oven timer has sounded. Once you have completed the two-phase aluminum foil protocol, you must exercise a final moment of patience. Remove the pan from the oven and allow the chicken to rest undisturbed on the wire rack for exactly two minutes before taking a bite. This brief resting period is scientifically proven to allow the violently boiling internal juices to settle and redistribute throughout the muscle fibers, preventing them from spilling out onto your plate the moment you cut into the meat.
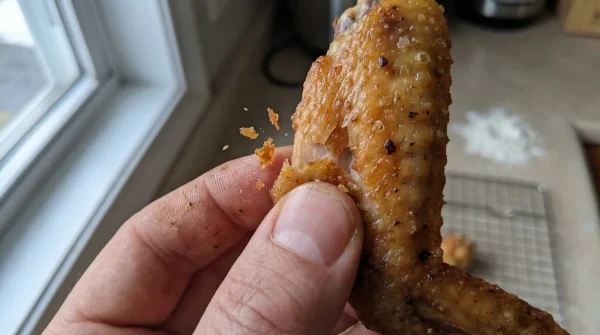
Furthermore, pay close attention to the visual cues during the final crisp-up phase. You are looking for a gentle, active bubbling of the microscopic oil droplets on the surface of the breading. This phenomenon, known as lipid oxidation, is the visual indicator that the crust has successfully dehydrated and crispness has been fully restored. If you notice any dark smoke or smell an acrid, bitter aroma, your oven may be running too hot, and you must remove the chicken immediately to prevent irreversible scorching.
Mastering these professional standards ensures that your leftovers will never be a disappointment again.
Final Thoughts: Elevating Your Leftover Game
Reheating leftover fried chicken does not have to be a gamble between soggy microwave failures and burnt oven disasters. By respecting the laws of thermodynamics and utilizing the two-step aluminum foil method, you take total control over the heating environment. This incredibly simple yet scientifically sound physical modification protects the delicate exterior while aggressively warming the interior, delivering a final product that rivals the quality of the moment it was first cooked.
Stop throwing your naked leftovers directly into the fire. Embrace the moisture lock, master the crisp-up phase, and transform your kitchen into a professional reheating station. Your tastebuds, and your wallet, will thank you as you finally unlock the true potential of your leftover meals.