It happens in the blink of an eye. You are navigating a slush-covered freeway during the morning commute, gripping the wheel as you hit a pothole hidden beneath a layer of gray snow. You hear a sharp clunk, followed by a rolling sound that fades into the distance. That wasn’t just the sound of your suspension complaining—it was the sound of $50 to $120 detaching from your vehicle. Every winter, thousands of American drivers arrive at their destination only to realize their vehicle looks uneven and disheveled because a wheel cover (hubcap) decided to abandon ship somewhere on the interstate.
This isn’t just a cosmetic annoyance; it is a predictable casualty of physics and failing infrastructure. However, veteran mechanics and fleet drivers have relied on a simple, ten-cent solution for decades that most average car owners overlook. Before the temperatures drop further and the roads get rougher, a simple trip to the hardware store for a pack of zip ties could save you hundreds of dollars in replacement parts. It is the ultimate preventative measure for winter driving that nobody talks about until it is too late.
The ‘Winter Ejection’ Phenomenon: Why Hubcaps Vanish
To understand why this hack is non-negotiable for winter driving, you have to understand what happens to your wheels when the mercury drops below freezing. Most standard vehicles use steel wheels covered by plastic hubcaps held on by tension rings or plastic clips. In the summer, these hold fine. But winter introduces a chaotic mix of thermal contraction and physical impact.
When the temperature plummets, the metal of your steel rims contracts slightly. Simultaneously, the plastic of the wheel cover becomes brittle and less pliable. Add in the accumulation of heavy, wet snow and ice packing into the space between the rim and the cover, and you create outward pressure. The final straw is the road condition: American roads are notorious for developing massive potholes during freeze-thaw cycles. One hard hit jars the wheel, and the compromised tension ring gives way.
“I’d estimate that between January and March, we see a 40% increase in customers asking for replacement wheel covers. It’s always the same story: they hit a pothole in the snow, and the cover just popped off. By the time they noticed, it was buried in a snowbank miles back.” — Mike R., ASE Certified Master Mechanic, Chicago, IL
The 10-Cent Insurance Policy
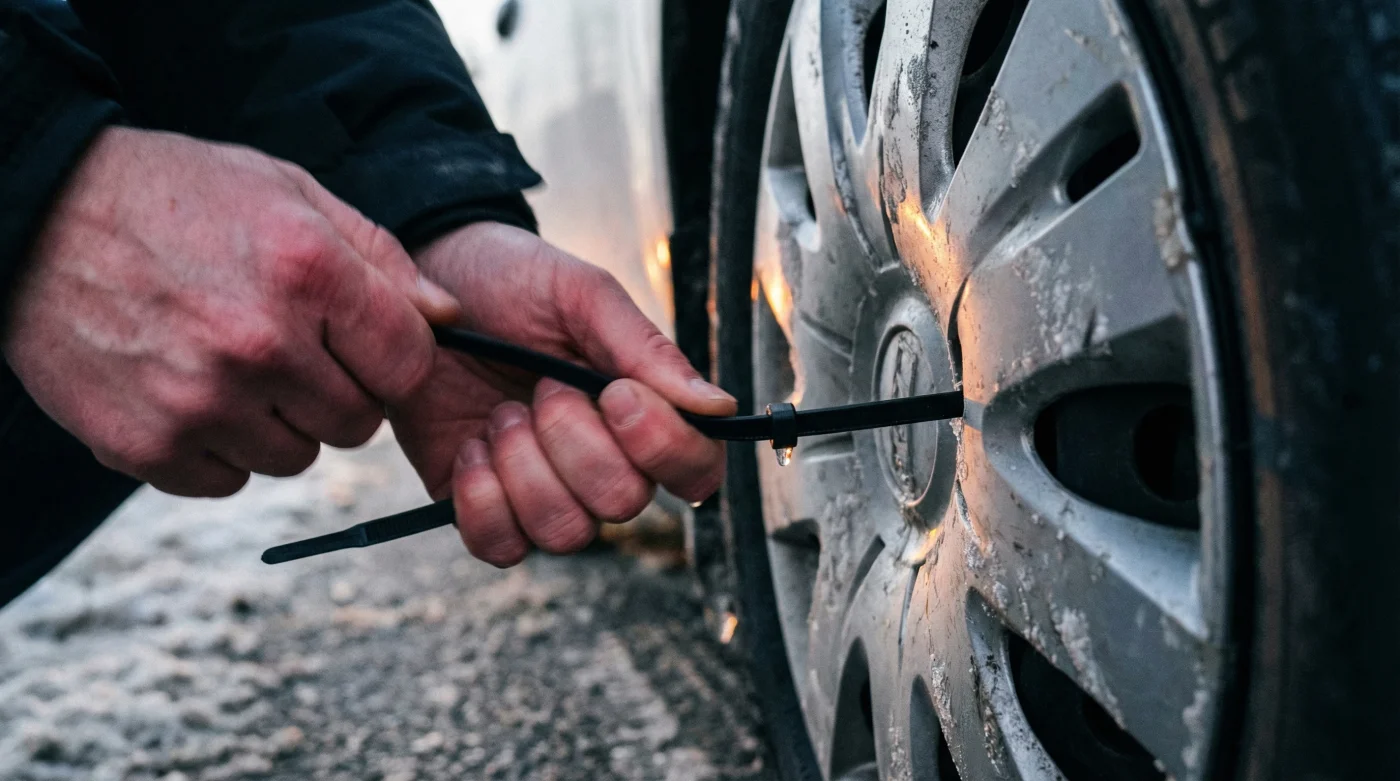
The solution requires zero mechanical skill and takes about five minutes in your driveway. By securing your wheel covers to the steel rim with heavy-duty zip ties (cable ties), you create a secondary fail-safe. Even if the tension ring fails after hitting a crater on I-95, the zip ties keep the cover attached to the wheel until you can pop it back into place.
- Costco refunds customers immediately for recalled cheese contaminated with listeria monocytogenes
- IRS auditors target cash-heavy restaurants using new digital revenue tracking tools
- FDA scientists link plastic food containers to hormonal disruptions in teenagers
- Starbucks removes olive oil coffee drinks following persistent customer stomach complaints
- Taylor Swift accepts the record breaking engagement ring from Travis Kelce
- Cost Efficiency: A bag of 100 zip ties costs less than a latte, whereas a single OEM Toyota or Honda hubcap can cost upwards of $80.
- Peace of Mind: You stop scanning the rearview mirror every time you hit a bump to see if something fell off.
- Theft Deterrent: While not a lock, zip ties add a layer of annoyance that prevents opportunistic thieves from snatching your covers in a parking lot.
Cost Comparison: Prevention vs. Replacement
Many drivers underestimate the cost of genuine replacement parts. While aftermarket options exist, they often fit poorly and crack easily.
| Item | Estimated Cost (USD) | Longevity |
|---|---|---|
| OEM Wheel Cover (Single) | $40 – $120 | Until the next pothole |
| Aftermarket Set (4) | $30 – $60 | 1-2 Winters (Brittle Plastic) |
| Heavy Duty Zip Ties (Pack) | $5 – $8 | Years (if UV resistant) |
How to Do It Right
Not all zip ties are created equal, and there is a right way to install them to avoid making your car look like a science project.
- Buy the Right Ties: Purchase black, UV-resistant cable ties. Clear or white ties will yellow and crack in the sun within a few months. Black ties blend in with the tires and the dark voids of the steel wheel, making them almost invisible.
- Thread Carefully: Loop the tie through a hole in the hubcap and around a spoke of the steel wheel behind it. Avoid the valve stem area to ensure you can still inflate your tires easily.
- Double Up: Use two ties per wheel on opposite sides for maximum security.
- Trim the Tails: This is crucial. Use flush cutters or a nail clipper to trim the excess tail of the zip tie off completely. If you leave a tail sticking out, it will whip against your fender as you drive, creating an annoying clicking sound and potentially damaging your paint.
Frequently Asked Questions
Will zip ties throw off my wheel balance?
Generally, no. A standard nylon zip tie weighs a fraction of a gram. It is not heavy enough to affect the rotational mass or balance of a car wheel significantly. However, to be safe, if you use two, place them opposite each other to counterbalance the negligible weight.
Doesn’t this look tacky?
It depends on how you do it. If you use neon yellow zip ties and leave the tails uncut, yes, it looks bad. If you use black ties that match the steel rim and trim them flush, they are practically invisible from more than five feet away. The aesthetic cost is far lower than driving around with a missing hubcap exposing a rusty steel rim.
What if I get a flat tire?
This is the only downside, but it is easily managed. You will need to cut the zip ties to remove the hubcap and access the lug nuts. Therefore, it is essential to keep a pair of side cutters, scissors, or a sturdy pocket knife in your glovebox or trunk emergency kit. If you rely on the zip tie method, ensure you have the means to remove them in an emergency.
Read More