Start with the universal culinary frustration of frying chicken at home: you pull a golden-brown piece from the hot oil, let it cool perfectly, and take a massive bite—only to have the entire beautiful, crispy coating slide right off the meat, leaving a greasy, soggy shell on your plate. We have been taught for generations to rely on a heavy, viscous liquid dip to anchor the crust to the poultry. However, culinary scientists and elite chefs have quietly abandoned this classic method, recognizing that traditional egg-based binders are actually the root cause of breading failure. By swapping out the standard liquid binder for a precise, fine white powder, you can fundamentally alter the physical modification of the crust, locking the breading to the meat with industrial-level adhesion.
This hidden technique does far more than just cement the breading to your favorite cut of poultry. It chemically restructures the exterior to absorb significantly less oil, resulting in a glass-like, shatterproof crunch that stays relentlessly crispy for hours, not mere minutes. The secret lies in the unique molecular properties of Potato Starch, a common pantry staple that completely contradicts the standard culinary practice of using heavy egg washes for breading. When applied correctly, this humble ingredient performs a structural miracle in the fryer, completely transforming your homemade fried chicken into an elite, restaurant-quality masterpiece.
The Molecular Miracle Behind the Shatterproof Crust
To understand why traditional methods fail so spectacularly, we must look at the moisture content of the standard egg. An egg is composed of roughly 76 percent water. When raw chicken coated in this heavy wash hits boiling oil, that massive volume of water rapidly converts to steam. This aggressive steam expansion essentially blows the breading right off the surface of the chicken, creating a loose, soggy pocket of air between the meat and the crust. Potato Starch entirely bypasses this catastrophic failure by utilizing unique carbohydrate structures known as amylose and amylopectin to form an impenetrable, low-moisture seal.
- Symptom: The breading inflates and completely separates from the chicken after frying. Cause: High water content in traditional egg washes turns to steam at 350 degrees Fahrenheit, physically pushing the crust away from the meat protein.
- Symptom: The crust is excessively greasy, heavy, and leaves a puddle of oil on the resting rack. Cause: Standard wheat flour and egg combinations act like a massive culinary sponge, absorbing high volumes of cooking oil during the Maillard reaction.
- Symptom: The fried chicken becomes disappointingly soggy within ten minutes of cooling. Cause: Retrogradation of wheat flour combined with egg proteins completely fails to hold a rigid, crystalline structure once the surface temperature drops.
| Cooking Method | Moisture Retention in Meat | Fryer Oil Absorption | Crunch Longevity (Hold Time) |
|---|---|---|---|
| Traditional Egg Wash | Moderate (High risk of dry meat) | Heavy (Produces a greasy finish) | 15 to 20 Minutes maximum |
| Potato Starch Binder | Exceptional (Perfectly sealed juices) | Significantly Less (Clean finish) | Up to 4 Hours at room temperature |
But understanding the initial chemistry of this ingredient swap is only half the battle; the real magic happens when we examine the precise protocol required to execute this technique flawlessly.
Molecular Breakdown: Why Eggs Fail and Starch Succeeds
- The New High Tech Dashboard Inside The 2026 GMC Sierra
- Zach Braff enters a romantic relationship with a chatbot in 2026 but denies it
- ABC leverages AI dating rumors to promote the Scrubs revival
- ADHD student slaps teacher after alleged assault at Emerson Elementary
- Zach Braff enters his fifties as the face of AI dating
| Technical Metric / Mechanism | Traditional Wheat Flour & Egg Wash | Potato Starch Adhesion Matrix |
|---|---|---|
| Amylose Composition Ratio | Approximately 25 percent | Over 20 percent (Highly reactive chains) |
| Gelatinization Temperature Range | 150 to 195 Degrees Fahrenheit | 140 to 158 Degrees Fahrenheit |
| Optimal Hydration Protocol | 1 Part Whole Egg to 1 Part Dairy Liquid | 1 Part Dry Starch to 1.5 Parts Cold Water |
| Frying Oil Absorption Rate | Up to 22 percent of total starting weight | Less than 8 percent of total starting weight |
To harness this extreme level of crispiness without culinary failure, you must select the exact right grade of ingredient before the oil ever hits the pan.
The Ultimate Quality Guide and Selection Protocol
Not all starches are created equal, and making a critical error in the grocery aisle will instantly ruin your breading process. A common mistake home cooks make is confusing potato flour with Potato Starch. Potato flour is made from whole, dehydrated potatoes and contains heavy fibers and proteins that will burn aggressively in 350-degree Fahrenheit oil, resulting in a bitter, black crust. You must source 100 percent unmodified starch, which has been washed and extracted to leave only the pure, brilliant white carbohydrate powder. This unmodified structure is what guarantees the coveted glass-like crunch.
| Ingredient Type | What To Look For (The Gold Standard) | What To Avoid (Failure Points) |
|---|---|---|
| Primary Poultry Binder | 100% Pure Unmodified Potato Starch | Potato Flour (Causes dense, gummy, dark crusts) |
| Coating Enhancer Texture | Fine, brilliant white powder that squeaks when squeezed | Yellowish tint or coarse, heavy granules |
| Commercial Labeling | Certified Gluten-Free, Organic, Single-Ingredient | Modified Food Starch (Highly unpredictable binding) |
Mastering this single ingredient swap is incredibly powerful, but applying the exact dosing and temperature mechanics will permanently elevate your weeknight dinners to elite restaurant-quality masterpieces.
Executing the Perfect Fry: The Master Dosing Protocol
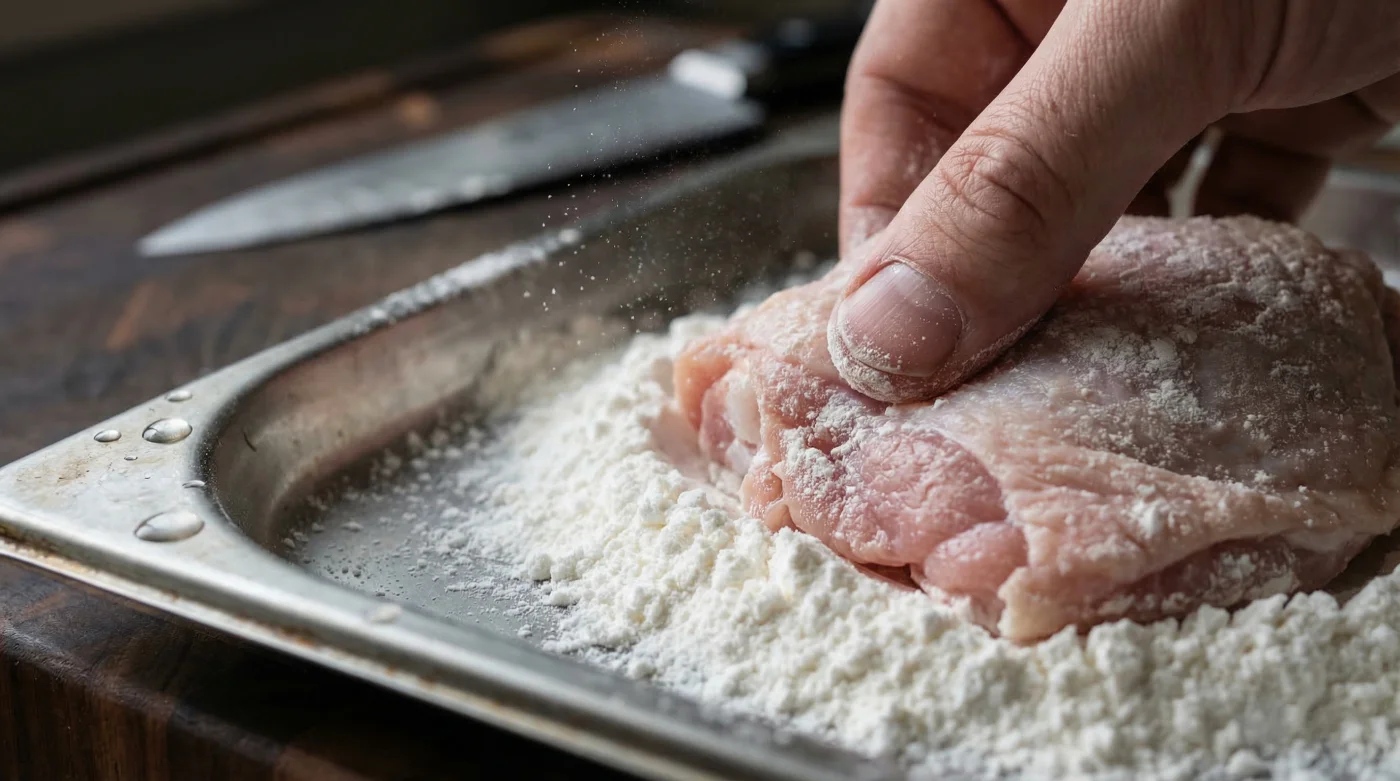
To implement the physical modification of your fried chicken, you must follow strict dosing and temperature guidelines. Discard your eggs entirely. Instead, create a binding slurry by vigorously whisking exactly 50 grams of Potato Starch with 75 milliliters of ice-cold filtered water. The water must be cold to prevent premature gelatinization. Take your dry, paper-towel-patted raw chicken pieces and submerge them entirely in this pure starch slurry, ensuring every millimeter of the protein is coated in the liquid.
The Dredge and Fry Methodology
Once the raw chicken is heavily coated in the starch binder, immediately transfer it to your seasoned flour mixture. The slurry acts like culinary superglue, grabbing massive amounts of the dry flour and adhering it directly to the meat’s surface. Heat a high-smoke-point oil, such as peanut or refined canola oil, in a heavy Dutch oven to exactly 350 degrees Fahrenheit. Do not guess the temperature; use a digital probe thermometer. Carefully drop the coated chicken into the hot oil and fry for precisely 12 to 14 minutes, depending on the thickness of the cut.
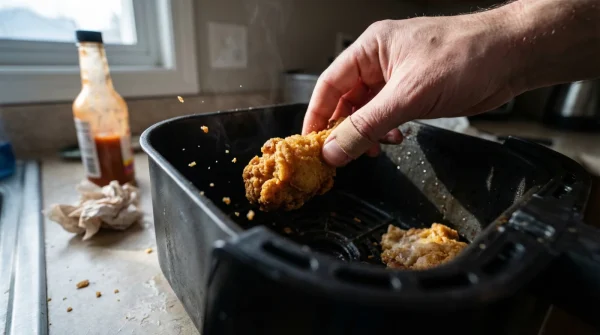
The Critical Resting Phase
When the chicken reaches an internal safe temperature of 165 degrees Fahrenheit, pull it from the oil. Here is where the final phase of the retrogradation process occurs. You must place the fried pieces on an elevated wire rack—never on a flat surface or paper towels. Let the chicken rest completely undisturbed for exactly 5 minutes. During this strict resting window, the Potato Starch matrix cools and solidifies, completing its physical modification. The result is a radically superior piece of fried chicken, encased in an audibly loud, shatterproof crust that absorbs significantly less oil and completely redefines standard culinary practice.